
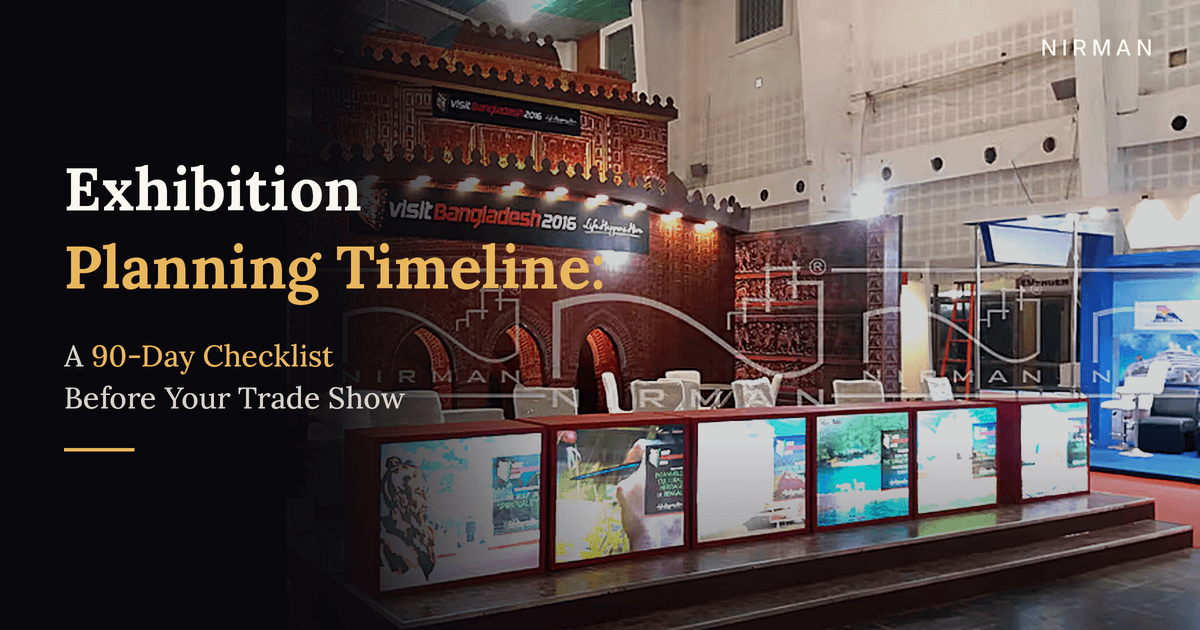
Exhibition Planning Timeline: A 90-Day Checklist Before Your Trade Show
Most exhibition problems are not design problems. They are timing problems: artwork sent too late, power not confirmed, leads never followed up. Here is a practical 90-day timeline to keep your next trade show on track, from booking the space to the follow-up call.
Most exhibition problems are not design problems. They are timing problems.
The stall looked great in the 3D render, but the artwork reached the printer two days before setup. The lighting plan was perfect, but nobody confirmed the power load with the organiser. The team collected two hundred visiting cards, and three weeks later nobody had called any of them.
After 28+ years of building stalls across India, we see the same pattern again and again. The brands that do well at exhibitions are rarely the ones with the biggest budget. They are the ones that started early and knew what had to happen when.
This guide gives you a practical timeline, working back from show day, so nothing important gets left to the last week.
90 Days Before: Decide Why You Are Going
Before you book anything, write down what this exhibition is supposed to achieve. Not "brand visibility", which cannot be measured, but something specific: a number of qualified leads, a product launch, meetings with distributors from a particular region.
That one decision shapes everything that follows: the size of the stall, its location, what goes on the backdrop, and who from your team needs to be there.
✓Set one clear objective and a number you can check after the show
✓Fix a total budget, including space rent, design, fabrication, travel, staff and giveaways
✓Book your space early. Corner and aisle-facing stalls go first, and late bookings usually mean a spot at the back of the hall
✓Download the exhibitor manual as soon as you register. It contains the height limits, deadlines and rules your stall will have to follow
75 Days Before: Brief Your Stall Designer
A good brief saves weeks of back-and-forth. Share it with your designer as soon as your space is confirmed.
A useful brief covers:
✓Stall size, stall number and how many sides are open
✓Your objective and the one message you want visitors to remember
✓Products to be displayed, with their sizes and weights
✓Whether you need a meeting area, storage room, screens or a demo zone
✓Brand guidelines: logo files, colours and fonts
✓Your budget range, stated honestly
At NIRMAN, this is the stage where we turn your brief into a 3D concept, so you can see the stall from every angle before anything is built.
60 Days Before: Approve the Design
Use this window to review the 3D design, make changes and lock it. Every revision after this point costs time at the fabrication stage.
✓Walk through the 3D view as a visitor would. Approach from the aisle and check what you see first
✓Check it against the exhibitor manual. Height limits, open-side rules and fire regulations differ from venue to venue
✓Decide build type. A custom-fabricated stall gives you full creative freedom; an Octanorm or modular system is faster and more economical for repeat events
✓Submit drawings to the organiser if the venue requires design approval
45 Days Before: Start Fabrication and Plan Content
Once the design is approved, fabrication can start in the workshop. This is also the right time to finalise everything that will appear inside the stall.
✓Finalise backdrop and panel artwork in print-ready, high-resolution files
✓Prepare brochures, catalogues and price lists
✓Plan the video loop or demo, if you have one, and test it on the screen size you will use
✓Order giveaways, if any, so they arrive with time to spare
<b style="color:#E8643C;letter-spacing:1px;">SIMPLE RULE </b>artwork late means printing rushed, and rushed printing means mistakes. Colour mismatches and blurred graphics almost always come from files sent in the final week.
30 Days Before: Confirm Every Logistic
This is the month for paperwork and confirmations. Most of these items have fixed organiser deadlines, and missing one can cost you on setup day.
✓Book electrical power and confirm the load you need for lighting, screens and equipment
✓Arrange internet if you will run live demos or digital lead capture
✓Apply for exhibitor badges for every team member
✓Book travel and stay for your team if the show is outside your city
✓Confirm vehicle access, unloading time and the setup window with your fabricator
✓Check insurance requirements, if the organiser asks for them
15 Days Before: Prepare Your Team
A great stall with an unprepared team still underperforms. Spend time with the people who will actually stand in the booth.
✓Agree on roles. Who greets visitors, who handles technical questions, who closes discussions
✓Practise a short opening line. One sentence that explains what you do, without jargon
✓Decide how leads will be recorded. A shared sheet, a scanning app or a simple form. Note what each visitor wanted, not just their name
✓Make a shift plan so nobody stands for three days without a break
7 Days Before: Final Checks
✓Review printed graphics against the approved proofs
✓Confirm the final setup schedule with your fabrication team
✓Pack a small kit: spare fixings, tape, cable ties, extension boards (if permitted), cleaning cloth, chargers and a printed copy of all confirmations
✓Share the stall number, hall map and timings with everyone attending
Show Time: Setup Day and Show Days
On setup day, the work should be installation, not decision-making. If you have followed the timeline, your role is simply to inspect the stall, check lighting and screens, and confirm everything matches the approved design.
During the show:
✓Keep the stall clean and the floor clear, every morning
✓Hold a five-minute team huddle before the doors open
✓Log leads the same day, while conversations are still fresh
✓Take photographs of the stall and visitors for your social media and records
After the Show: The Part Most Brands Skip
The exhibition does not end when the hall closes. The real return comes from what you do in the next two weeks.
✓Follow up within 48 hours with the warmest leads, while they still remember you
✓Sort the rest into hot, warm and cold, and plan a follow-up for each
✓Compare results with your objective from 90 days before
✓Hold a short team review. What worked, what did not, what to change next time
✓Store reusable stall elements properly if you plan to exhibit again
Avoid These: Common Timing Mistakes
✕Booking the stall but delaying the design. The space is reserved, but the clock is still running
✕Changing the design after fabrication has started. Every late change adds cost and risk
✕Treating power and badges as last-minute tasks. Organiser deadlines are strict
✕Sending artwork in the final week. This is the single most common cause of print errors
✕No plan for follow-up. Leads that are not called quickly go cold
Working With Nirman
We have delivered 878+ projects over 28+ years, and our process is built around this timeline: discover, design, fabricate, execute and support. From the first brief and 3D concept to fabrication in our Kolkata workshop, on-site installation and dismantling, we manage the full journey so your team can focus on meeting visitors.
Whether your next exhibition is in Kolkata, elsewhere in West Bengal or anywhere across India, get in touch with us early, and we will help you plan it properly from day one.
FAQ: Frequently Asked Questions
Q. How early should I start planning for an exhibition?Ideally around three months before the show. That gives enough time for a good space, an unhurried design process, quality fabrication and proper team preparation. Large pavilions or custom builds may need even longer.
Q. How long does exhibition stall fabrication take?It depends on the size and complexity of the stall. A modular Octanorm stall can be ready quickly, while a large custom-fabricated stall needs more time in the workshop. Approving the design early is the best way to avoid a rushed build.
Q. What should an exhibition stall design brief include?Stall size and number, open sides, your objective, the products you will display, any special zones like a meeting area or storage, your brand guidelines and your budget range.
Q. What is the most commonly missed task before an exhibition?Confirming power and services with the organiser, and sending final artwork on time. Both have fixed deadlines and cause the most stress on setup day when missed.
Q. How soon should I follow up with exhibition leads?Within 48 hours for your most promising contacts. Interest fades quickly after a show, and the brands that call first usually win the conversation.
Conclusion
A successful exhibition is decided long before the doors open. Fix your objective early, brief your designer clearly, lock the design on time, confirm every logistic, prepare your team and follow up quickly after the show.
Follow the timeline and setup day becomes calm instead of chaotic, and your stall spends three days doing what it was built for: starting the right conversations.
Planning your next exhibition? Contact Nirman for a free consultation and 3D concept. You can also read our guide on small exhibition stall design for ideas on making a compact booth work harder.
Planning an exhibition? Let's talk.
Get a free consultation and 3D concept for your next exhibition stall.